Hey everyone, today Jim and I came up with a concept for a self portrait for me to take in the studio.
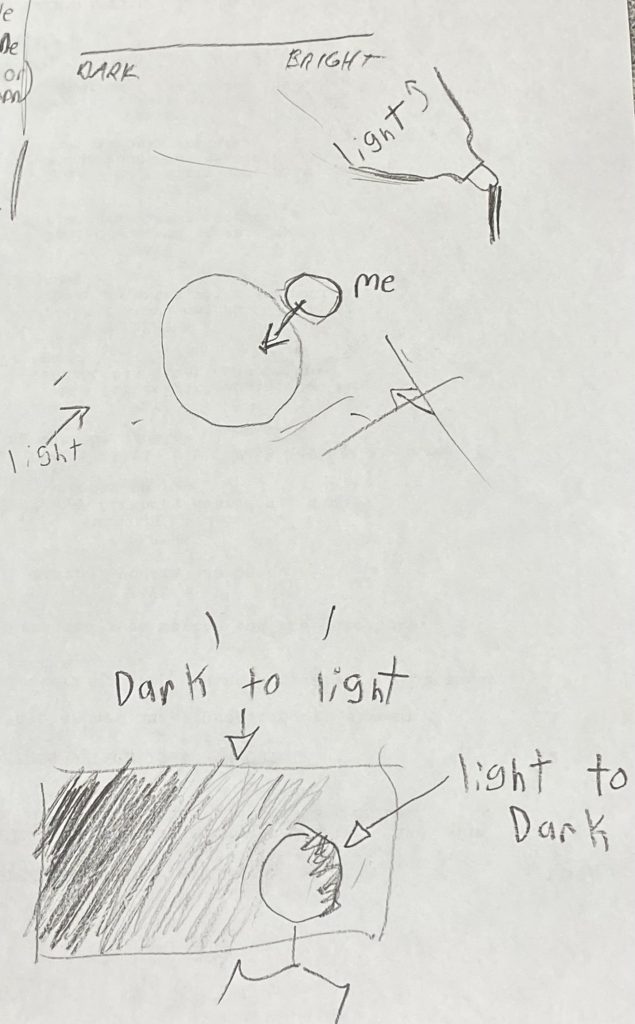
Jim had the idea to play with the lighting in the portrait. We used the shadows and the light to make some contrast. I got to learn now to use sone new equipment and how to set up a new set of lights I’ve never used before.
But before we started the shoot, we made a small sketch to have an idea of what it would look like.
Check out what ended up being the final result !!!
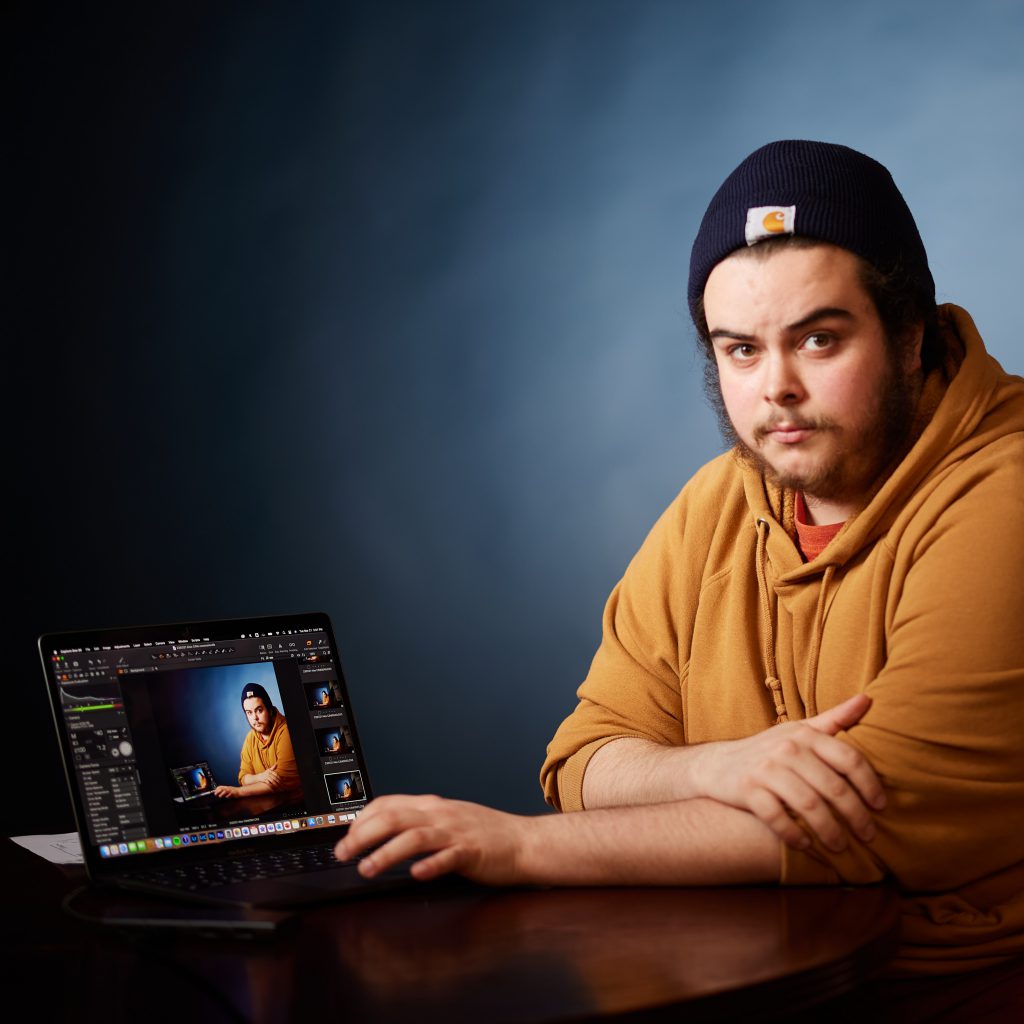
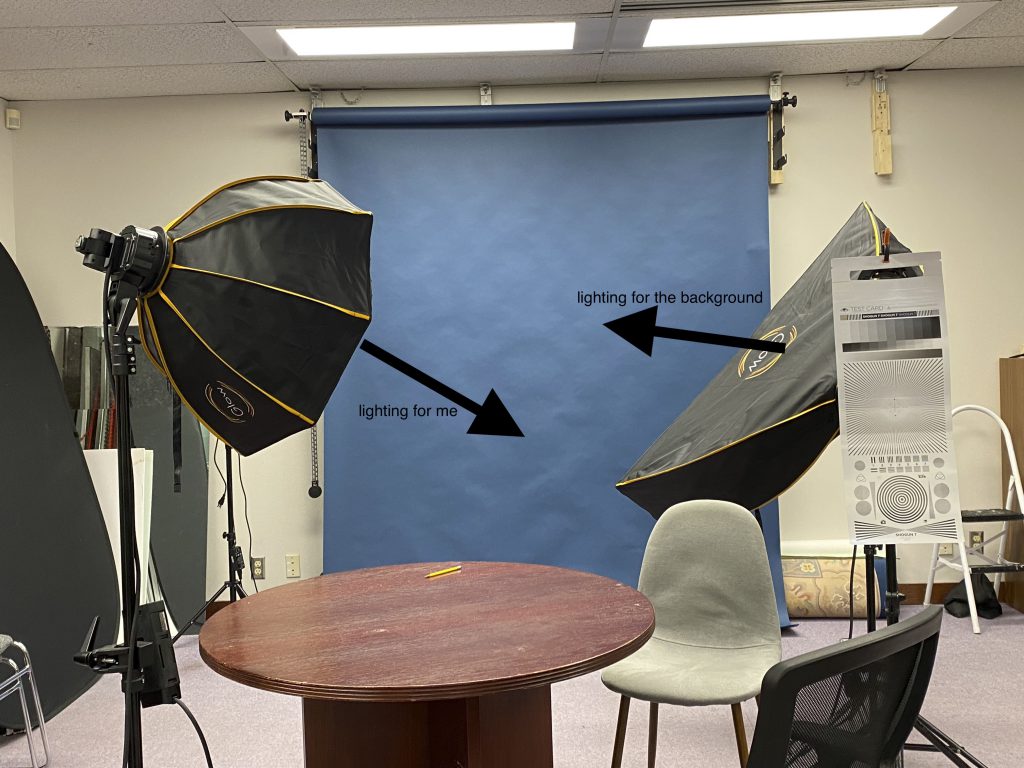
And this is what the portrait with the lights and everything in the shot.

We used two lights to take the portrait. One to light up the subject (me) and one to make a gradient in on the background.
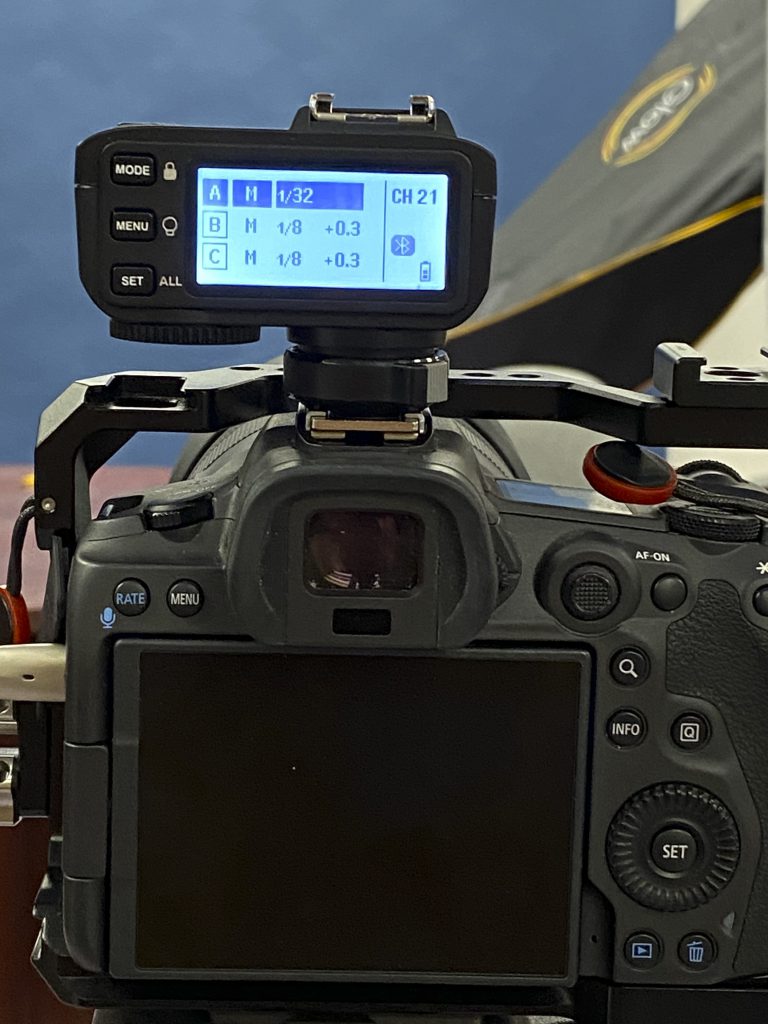
To connect the camera to the external flashes we used this trigger.
The trigger fires the flashes, and it also makes it easy to adjust the brightness of the lights individually.
We set the main light, A, at 1/32 of its full power. C is the background, and it is set at 1/8 of its full power, plus a little bit (+0.3).
B was not used.
To take the picture, we set the camera on a tripod and took the picture with a USB-C cable from the camera to my laptop.
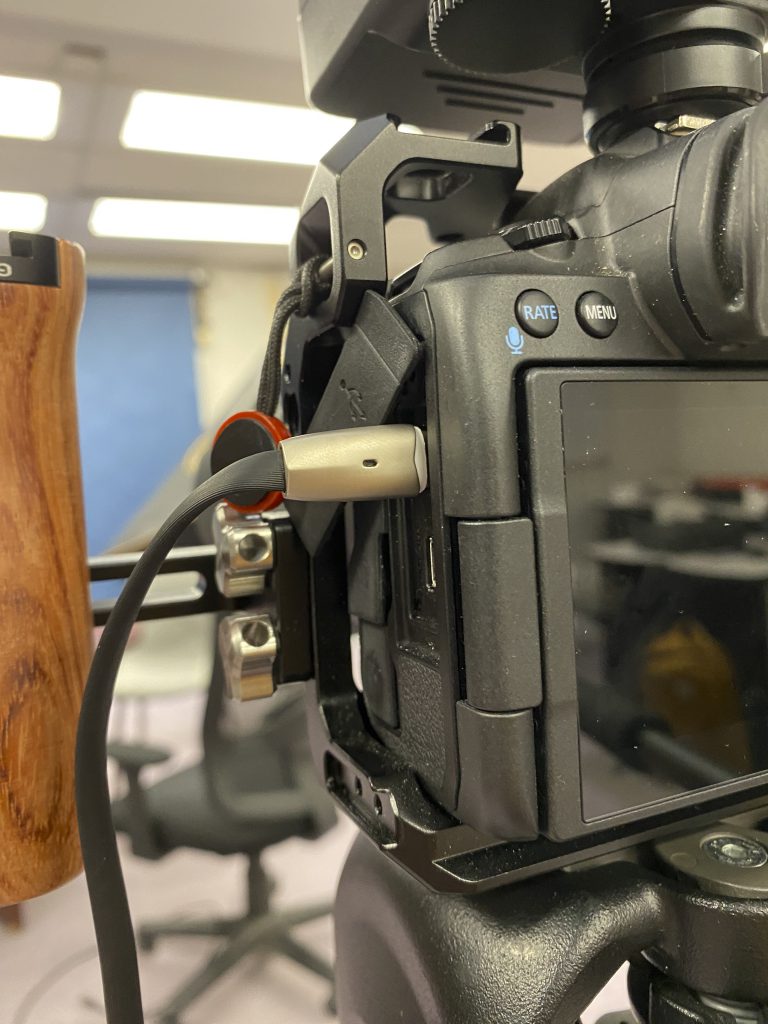
Once the cable is connected at both ends I can take my own picture from the laptop, by clicking on a control button in the image software, Capture One.
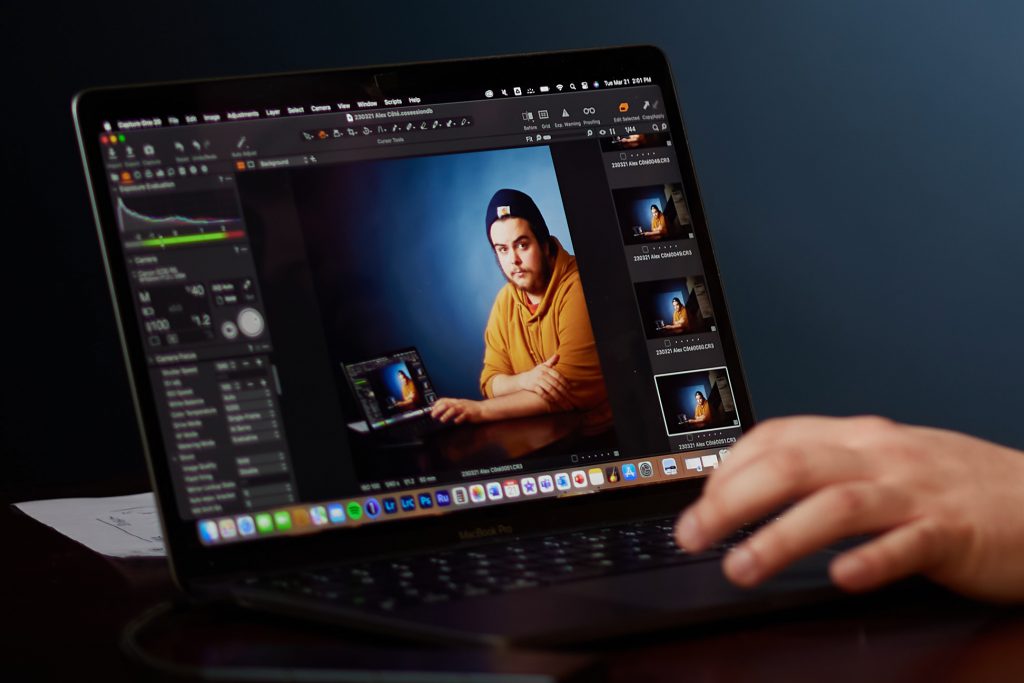
The resolution of the cameras we used (the Canon R5) is so high that even zooming into the picture on the laptop – its still sharp.
